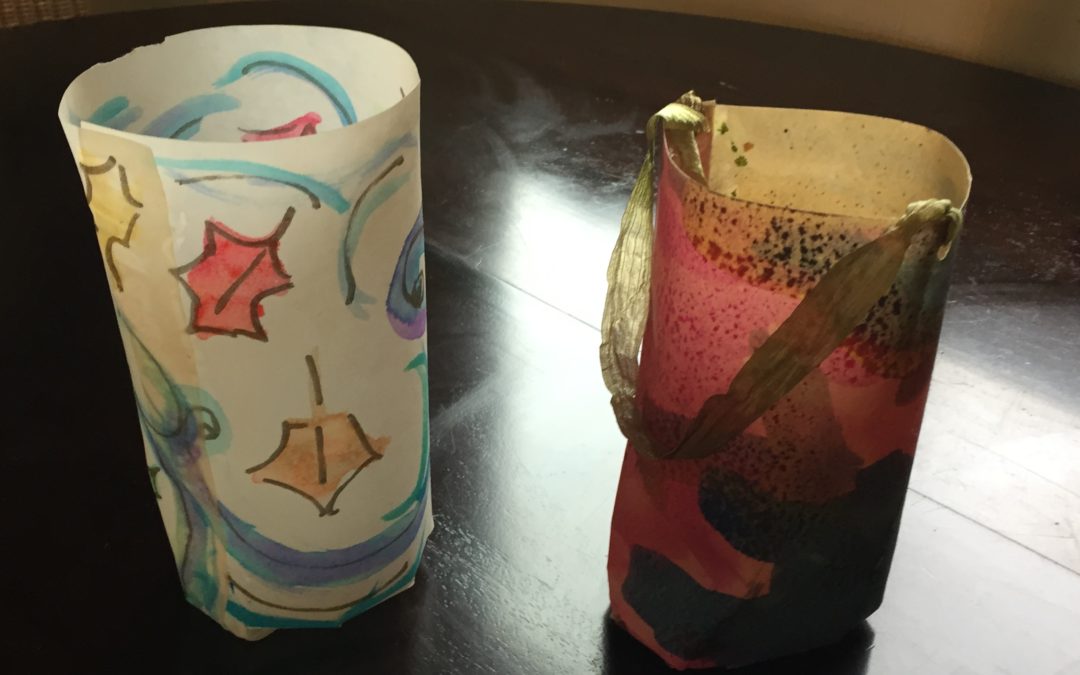
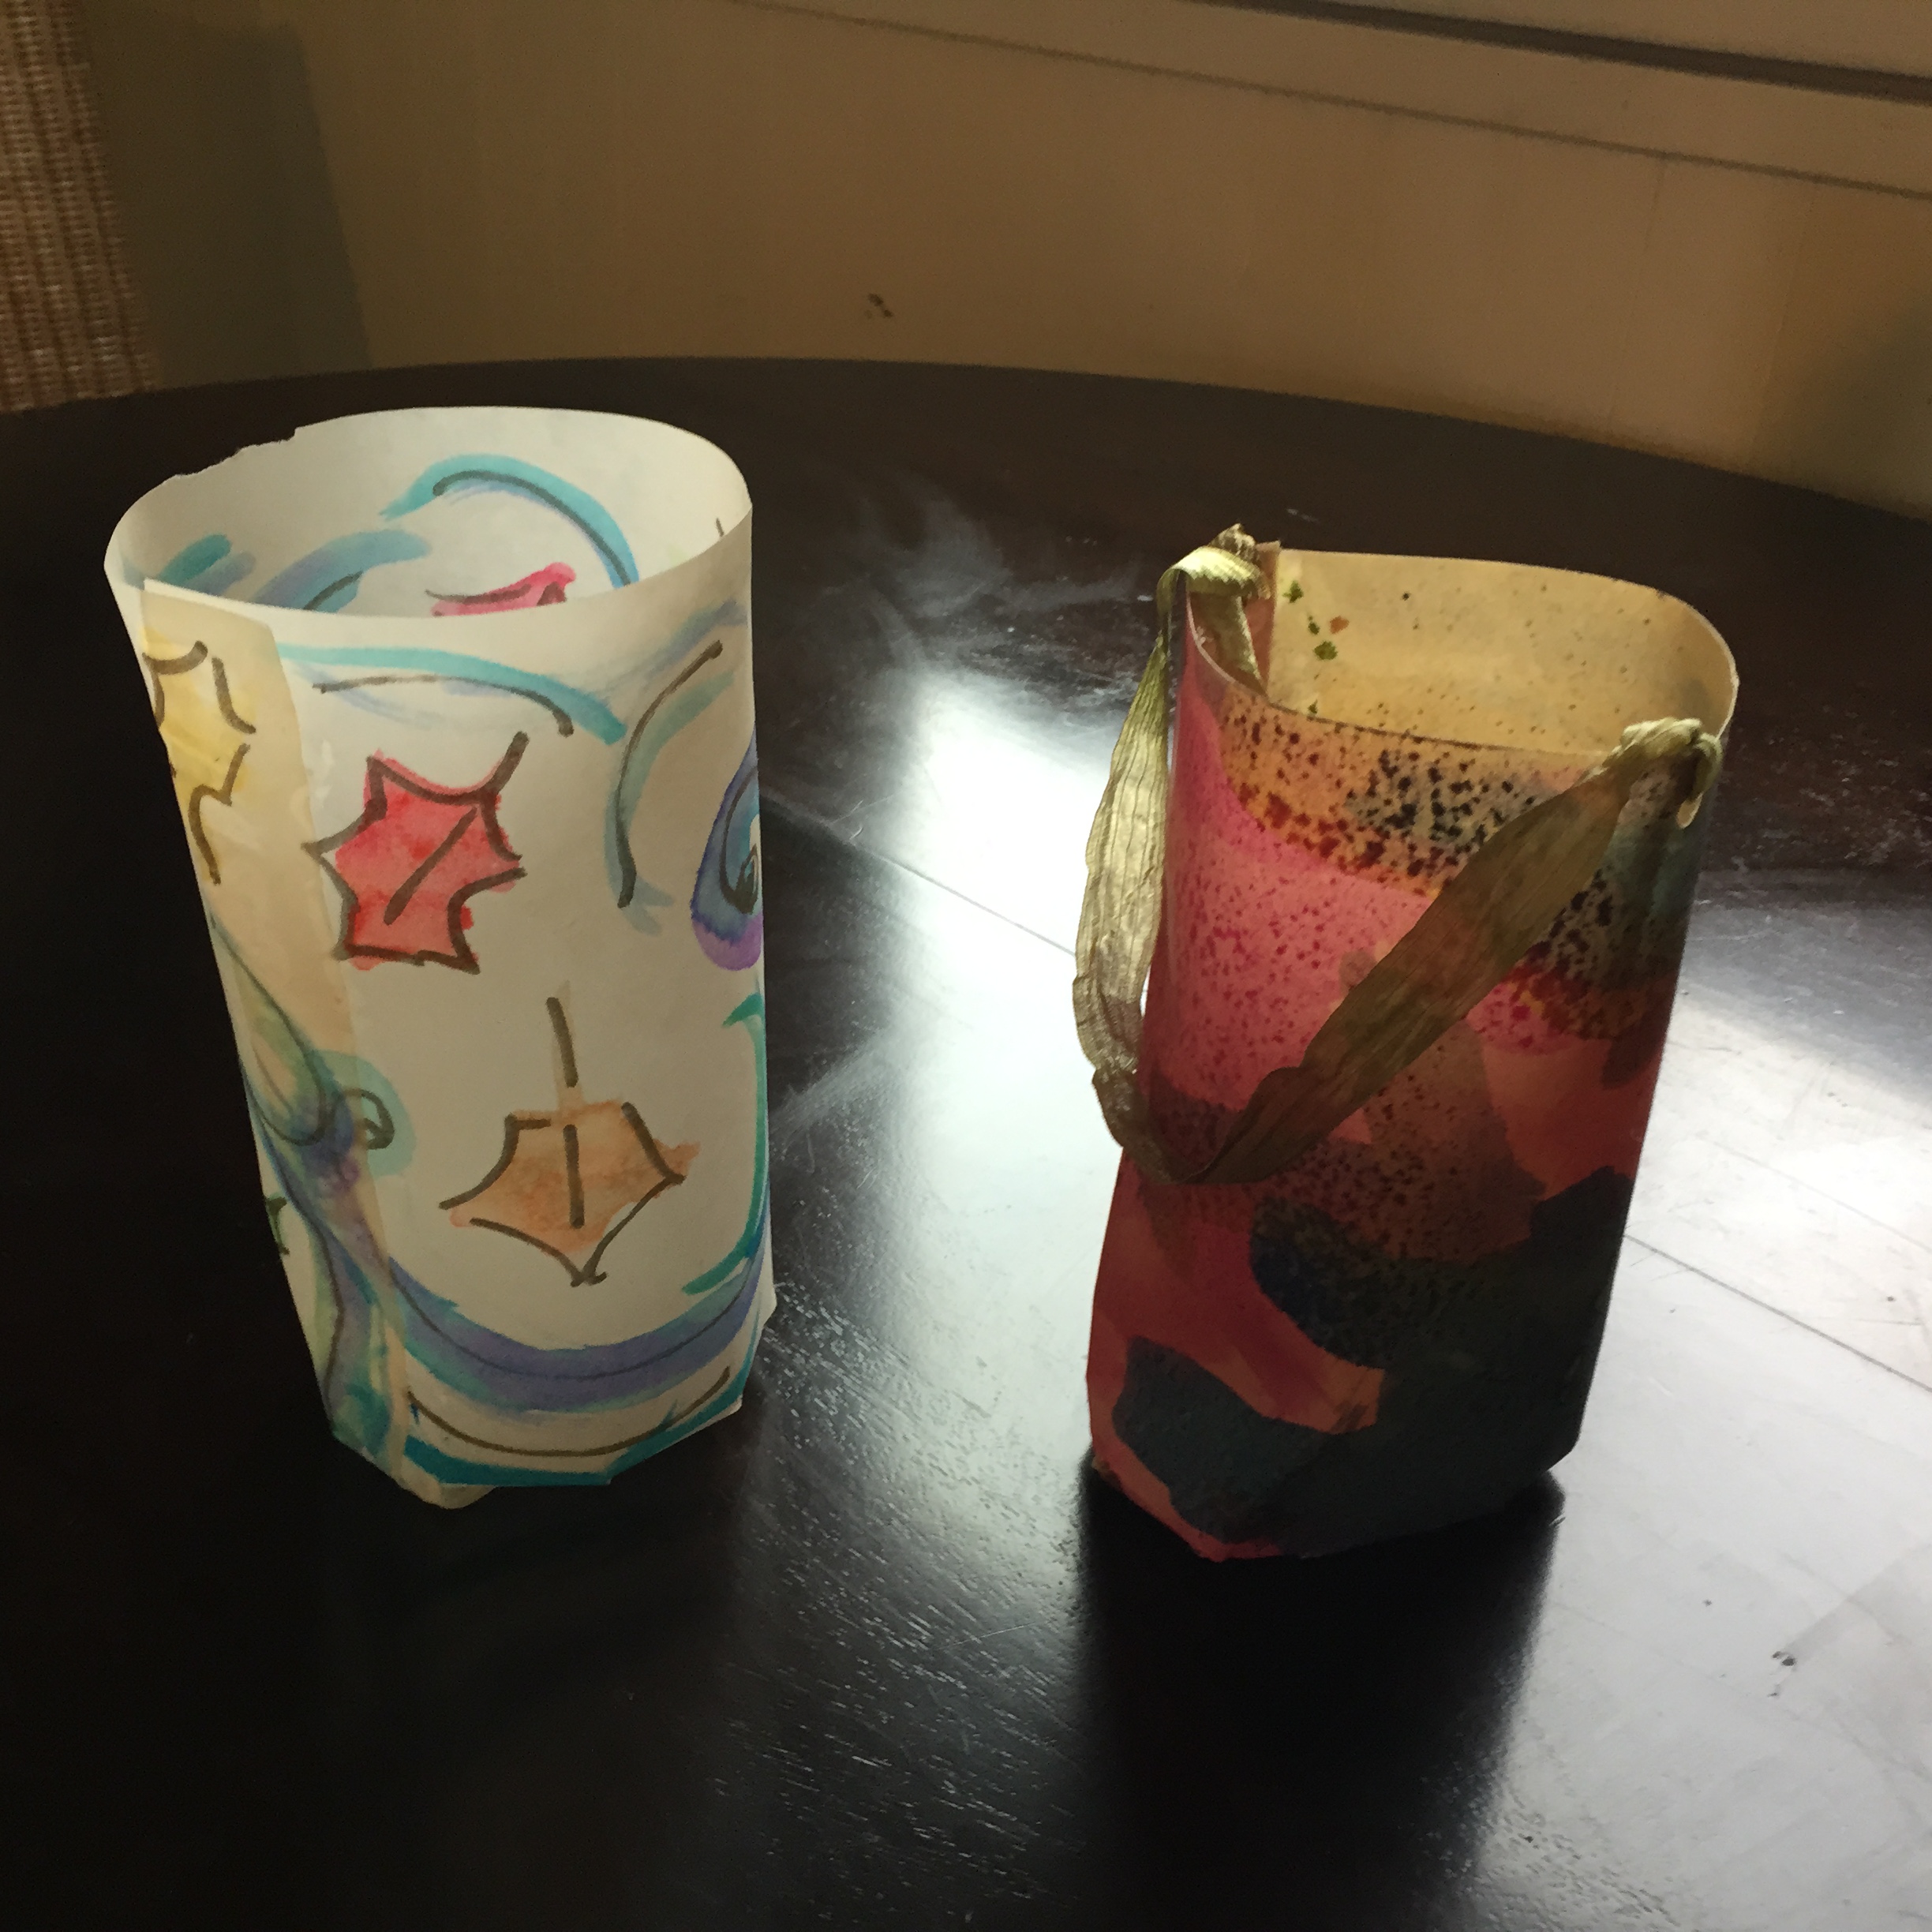
These beautiful watercolor lanterns are easy to make (for anyone about 4 and up). The are pretty on your front porch with LED tea lights next to your fall pumpkins, or on the table. Last year I made them with a few school groups, and the little ones loved carrying them around for Halloween. And I got reports that a few brought them everywhere for awhile. I love the idea of them carrying their little lanterns around as the afternoons got short and the nights long. Find the simple how-tos below.
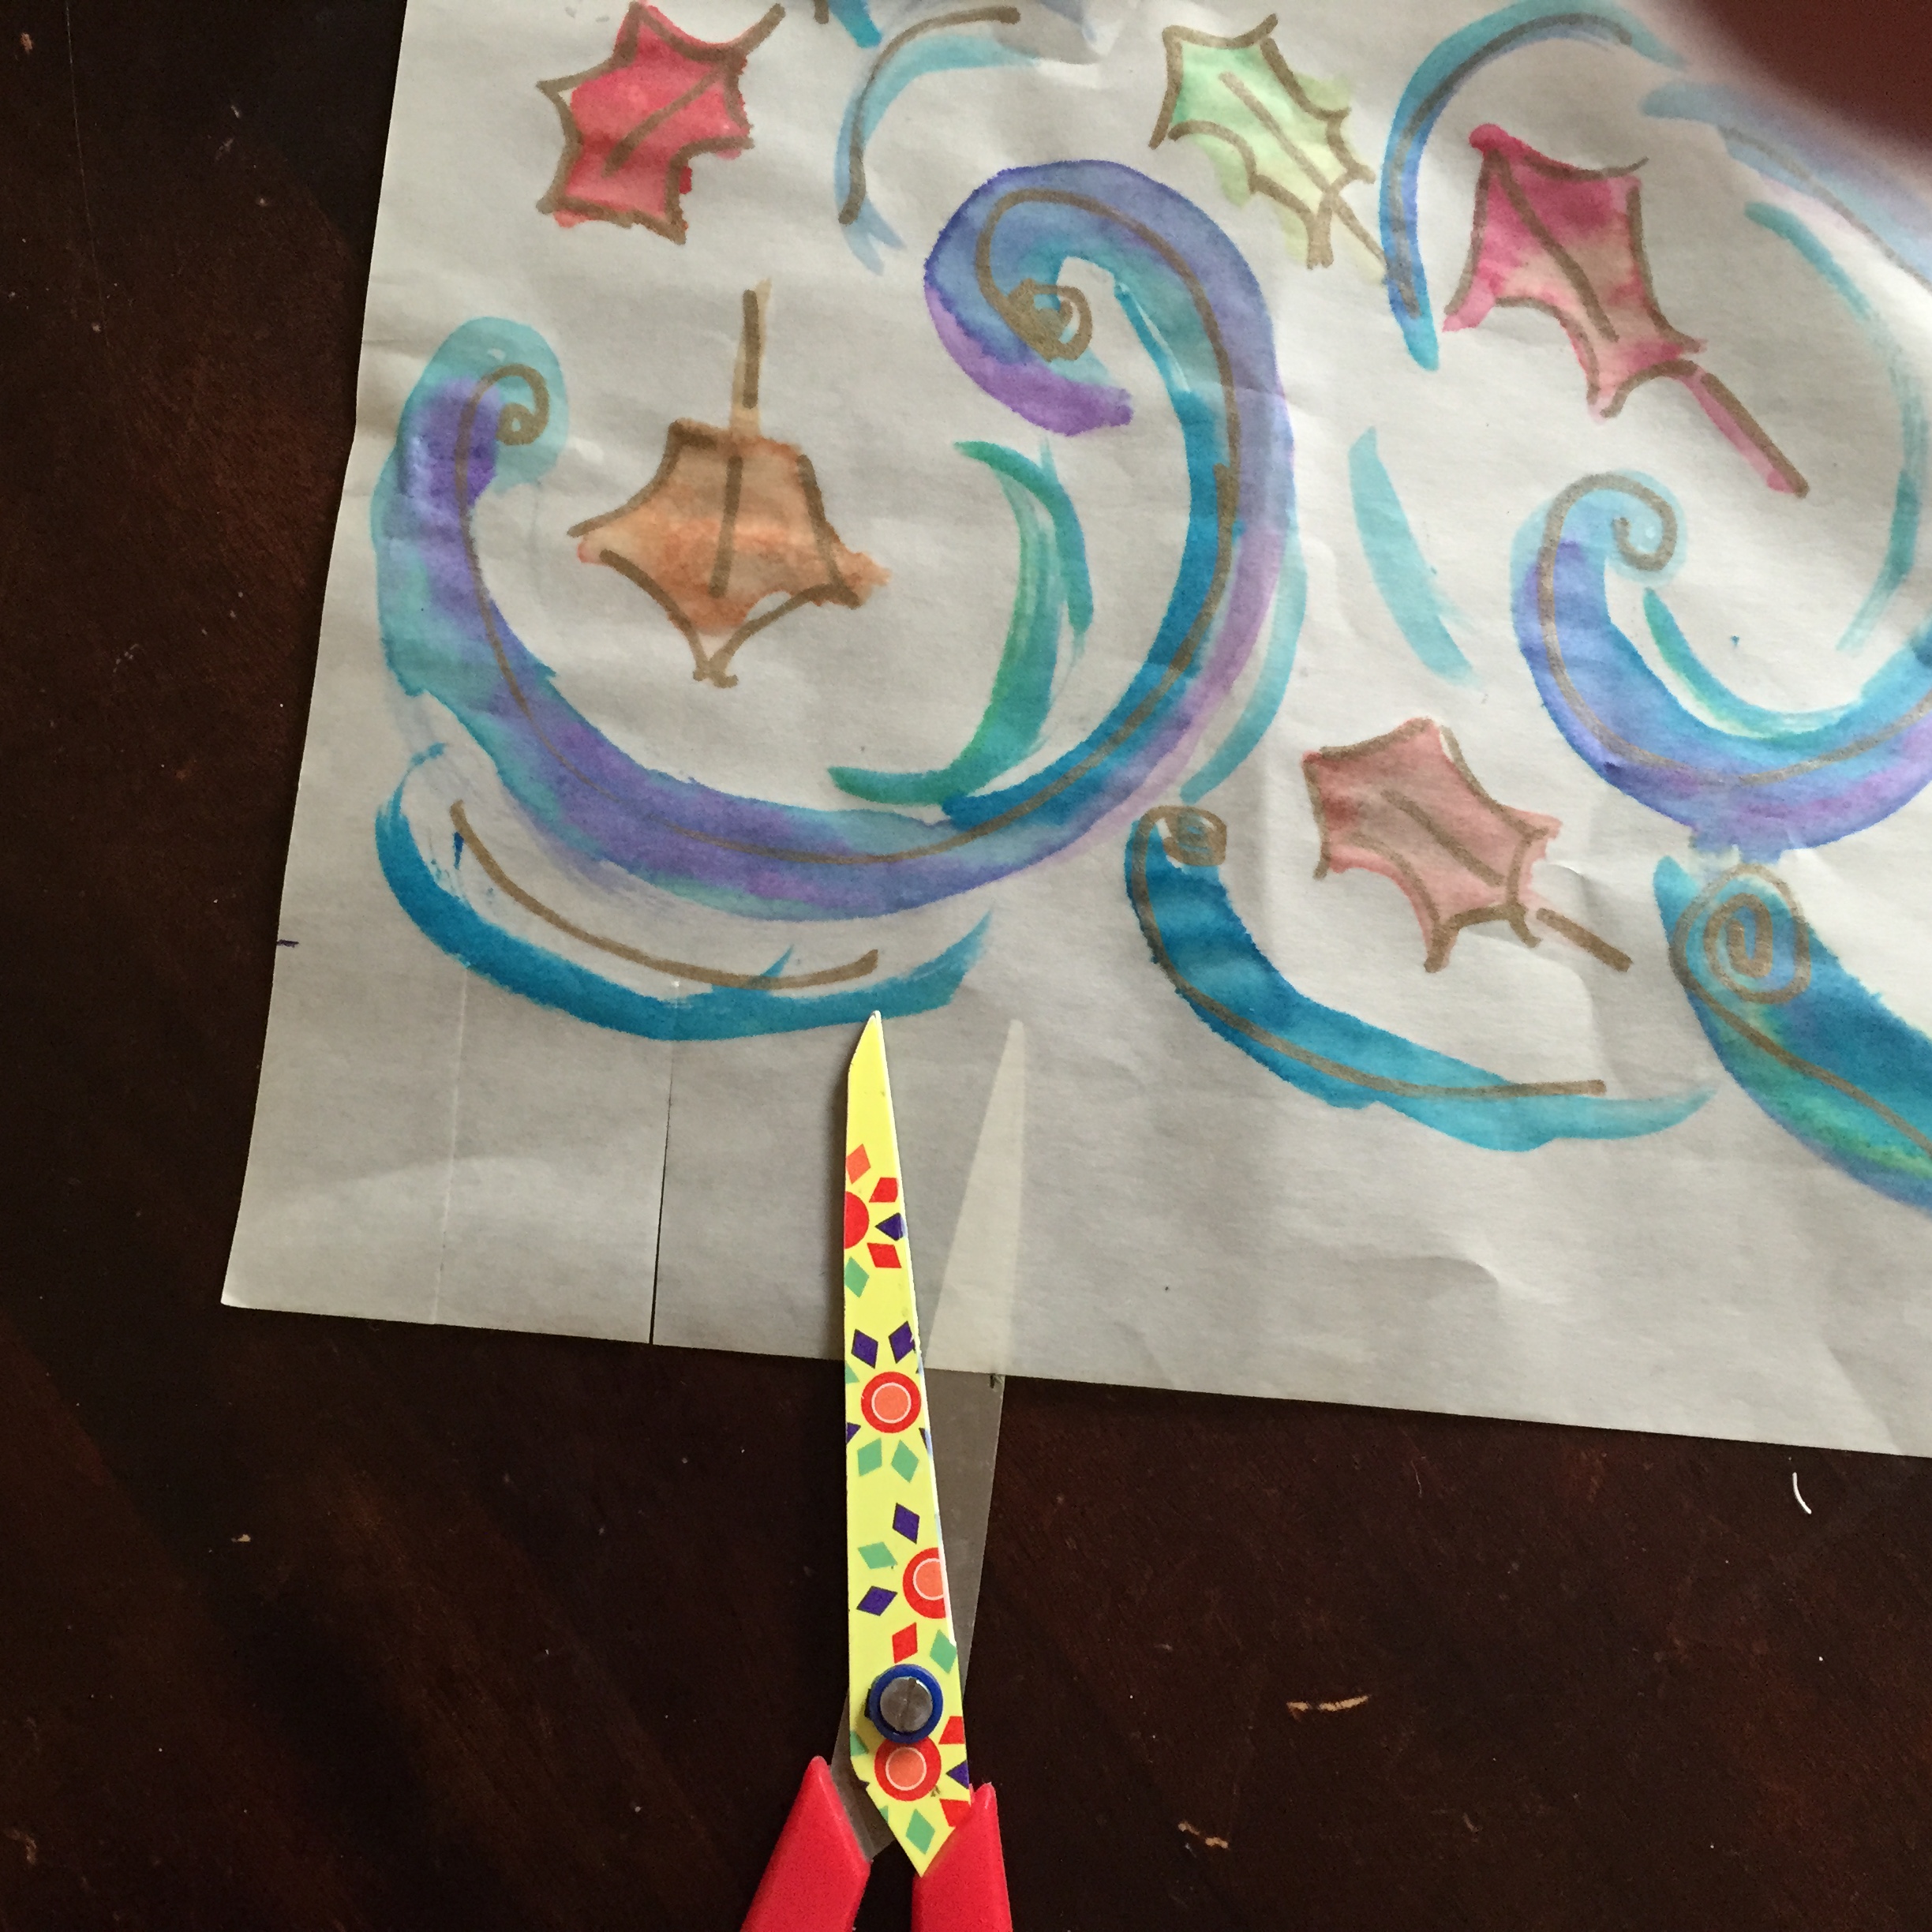
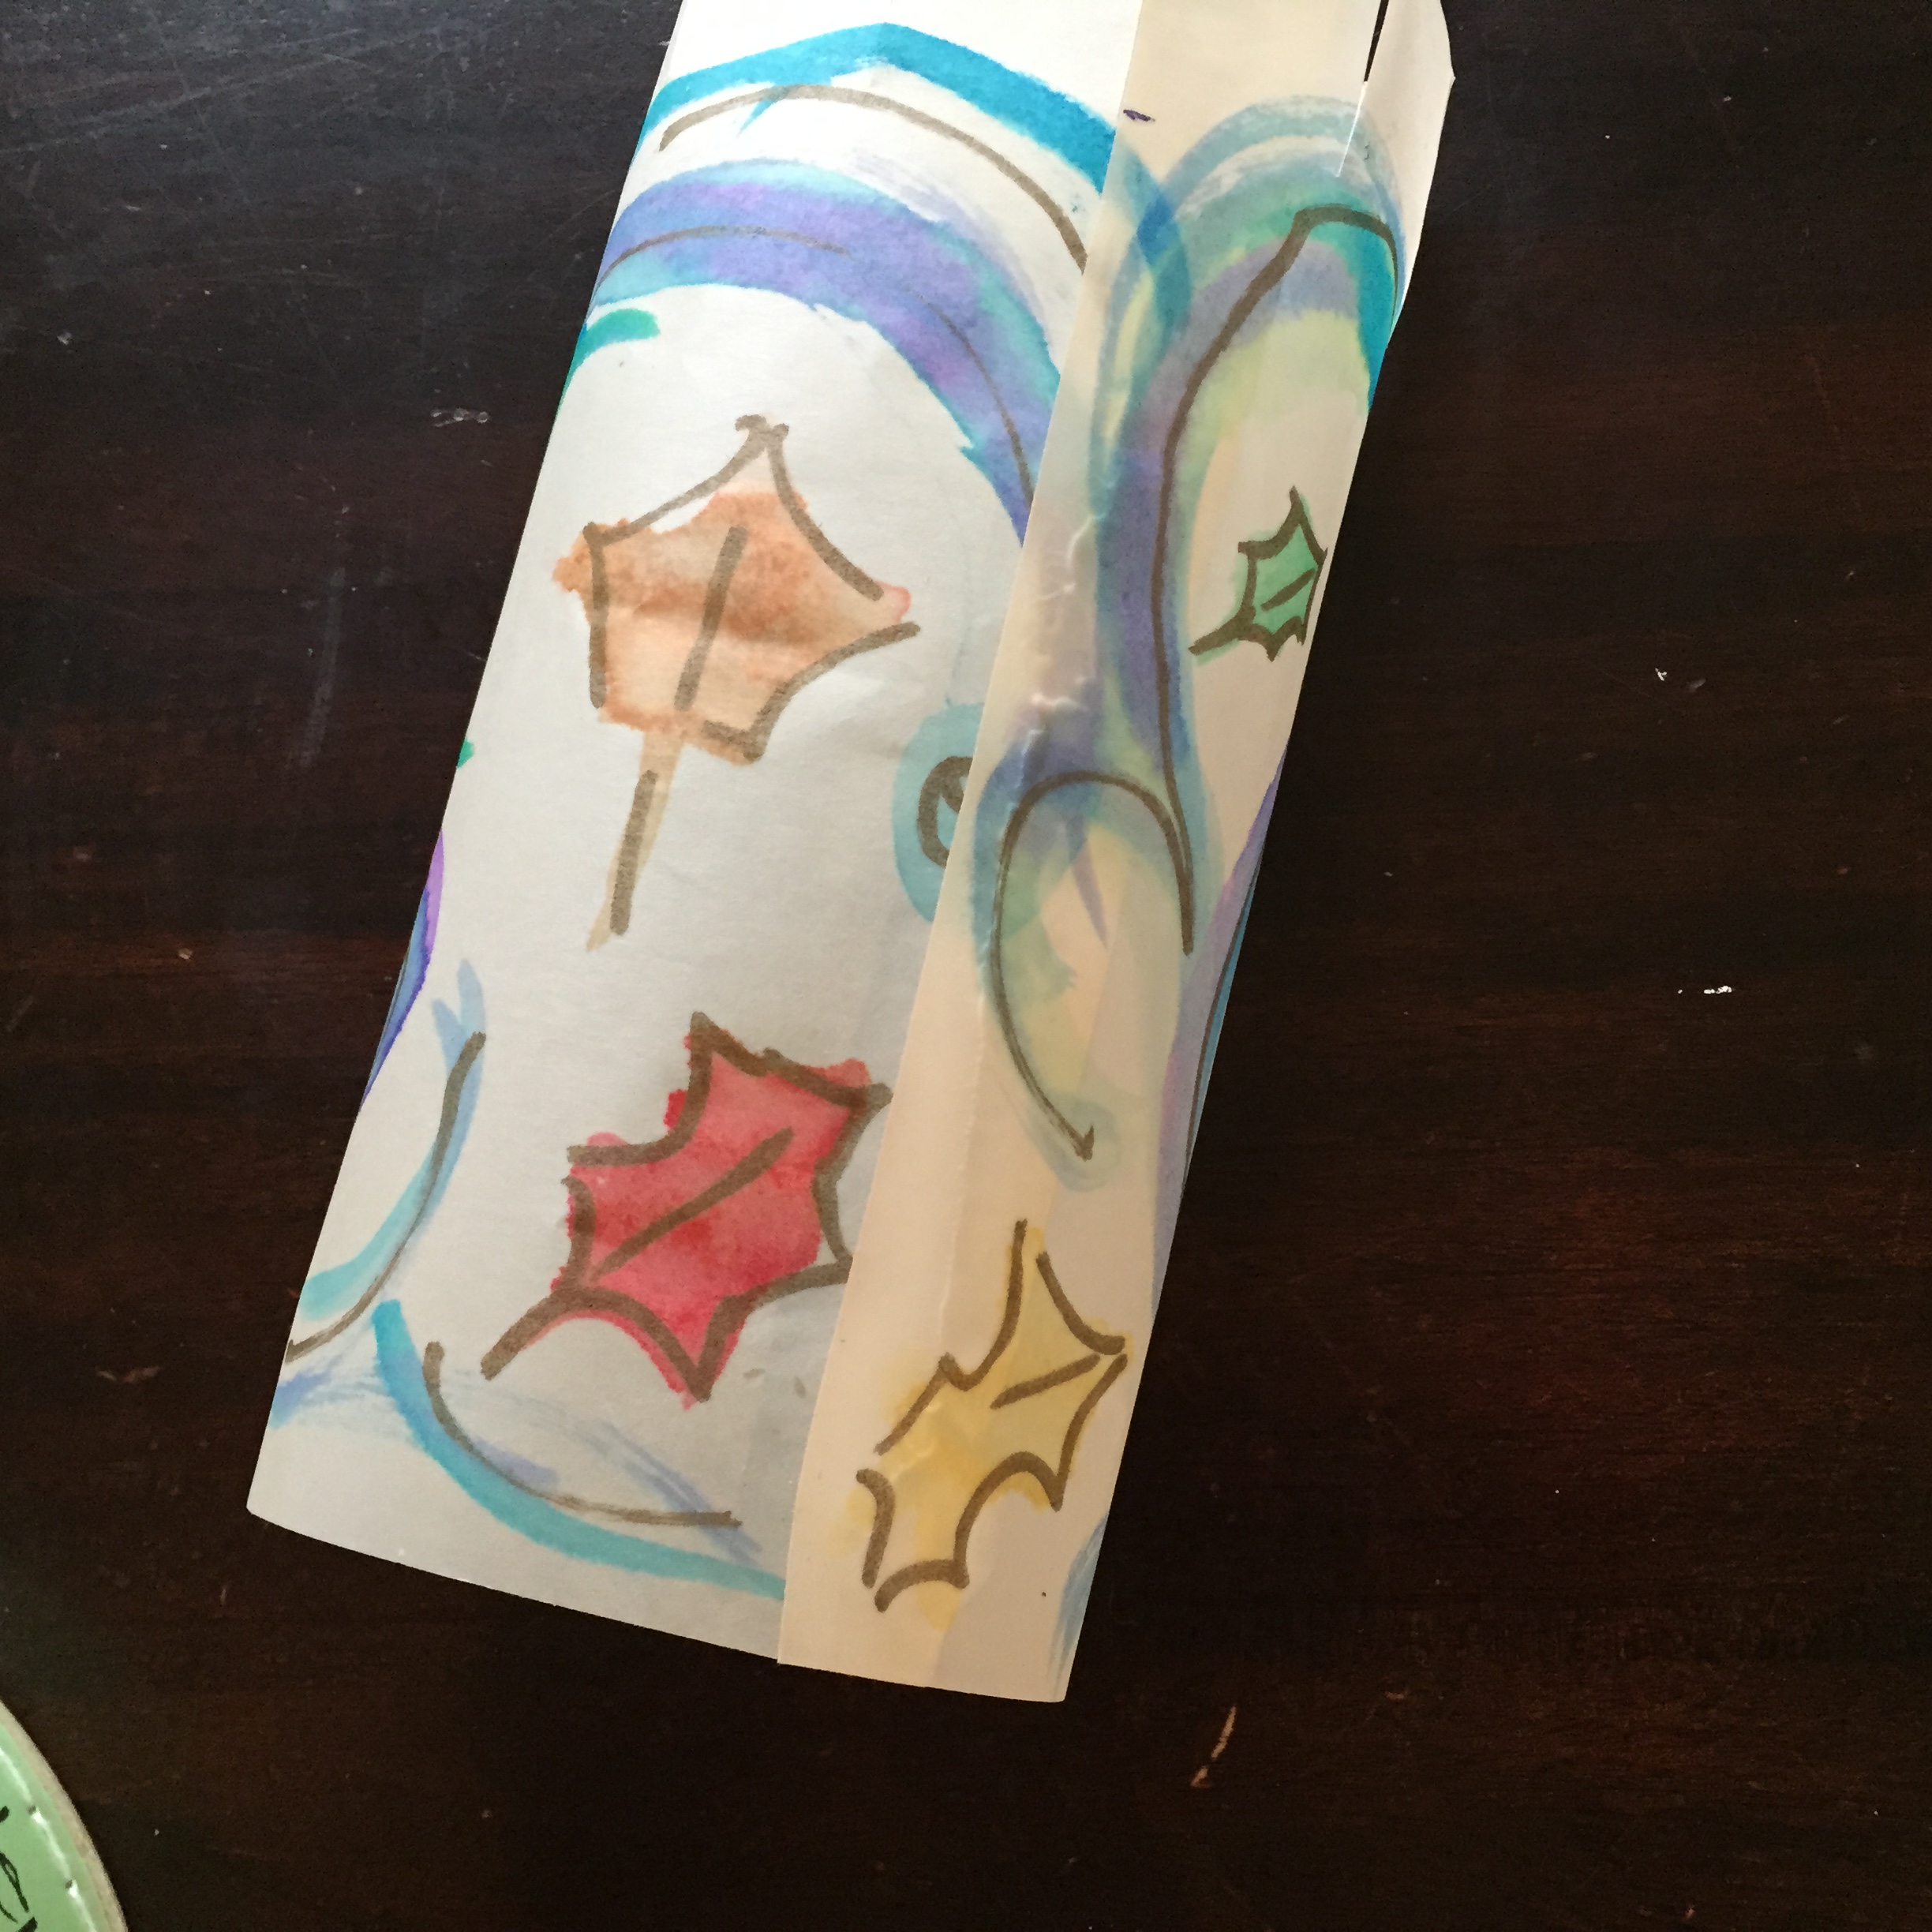
Begin by using watercolors to paint a sheet of paper (artist’s quality is better than copy paper). Before painting, make a very light line or mark two inches from of the paper (holding the paper horizontally (long side on top and bottom). This will be the bottom of the lantern and anything you paint below the line or mark will not show.

After it dries, dip the whole sheet in vegetable oil, and allow to dry overnight. This gives the paper a pretty translucent quality.

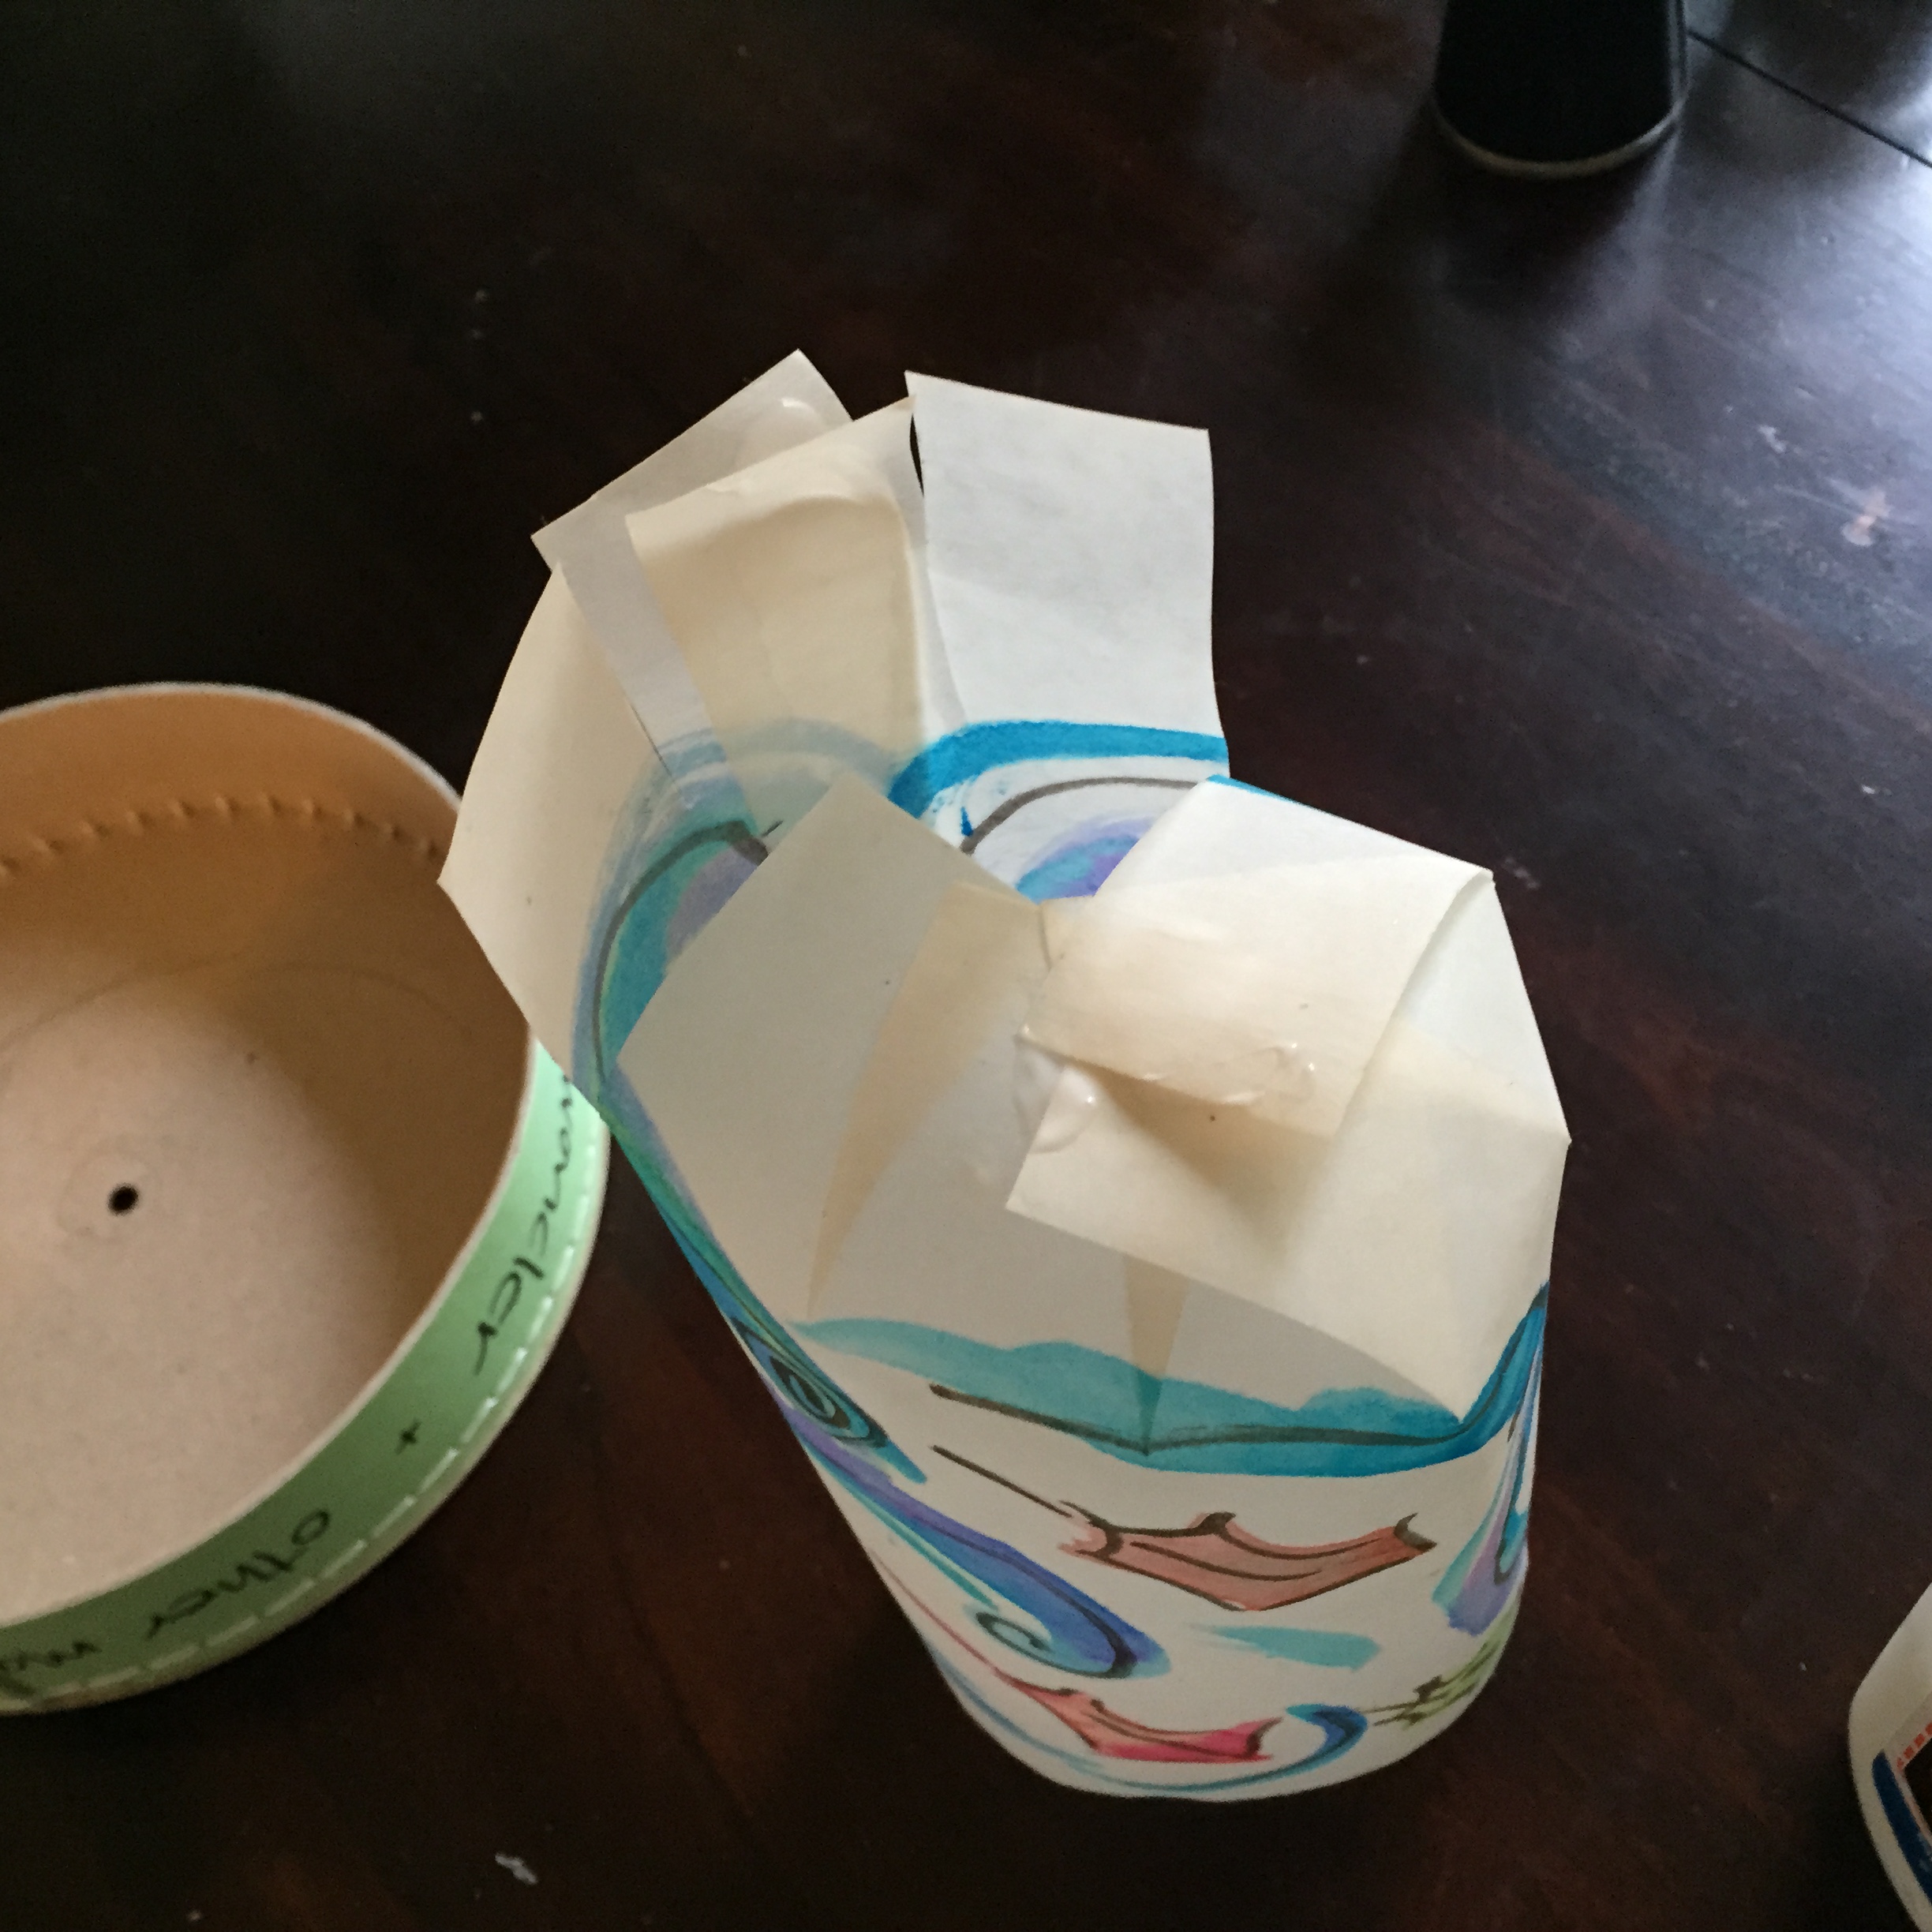
Snip the paper every one inch or so, below the line you made, cutting up the your line or mark.
Glue the paper in a tube, short sides glued together, long sides on bottom and top.
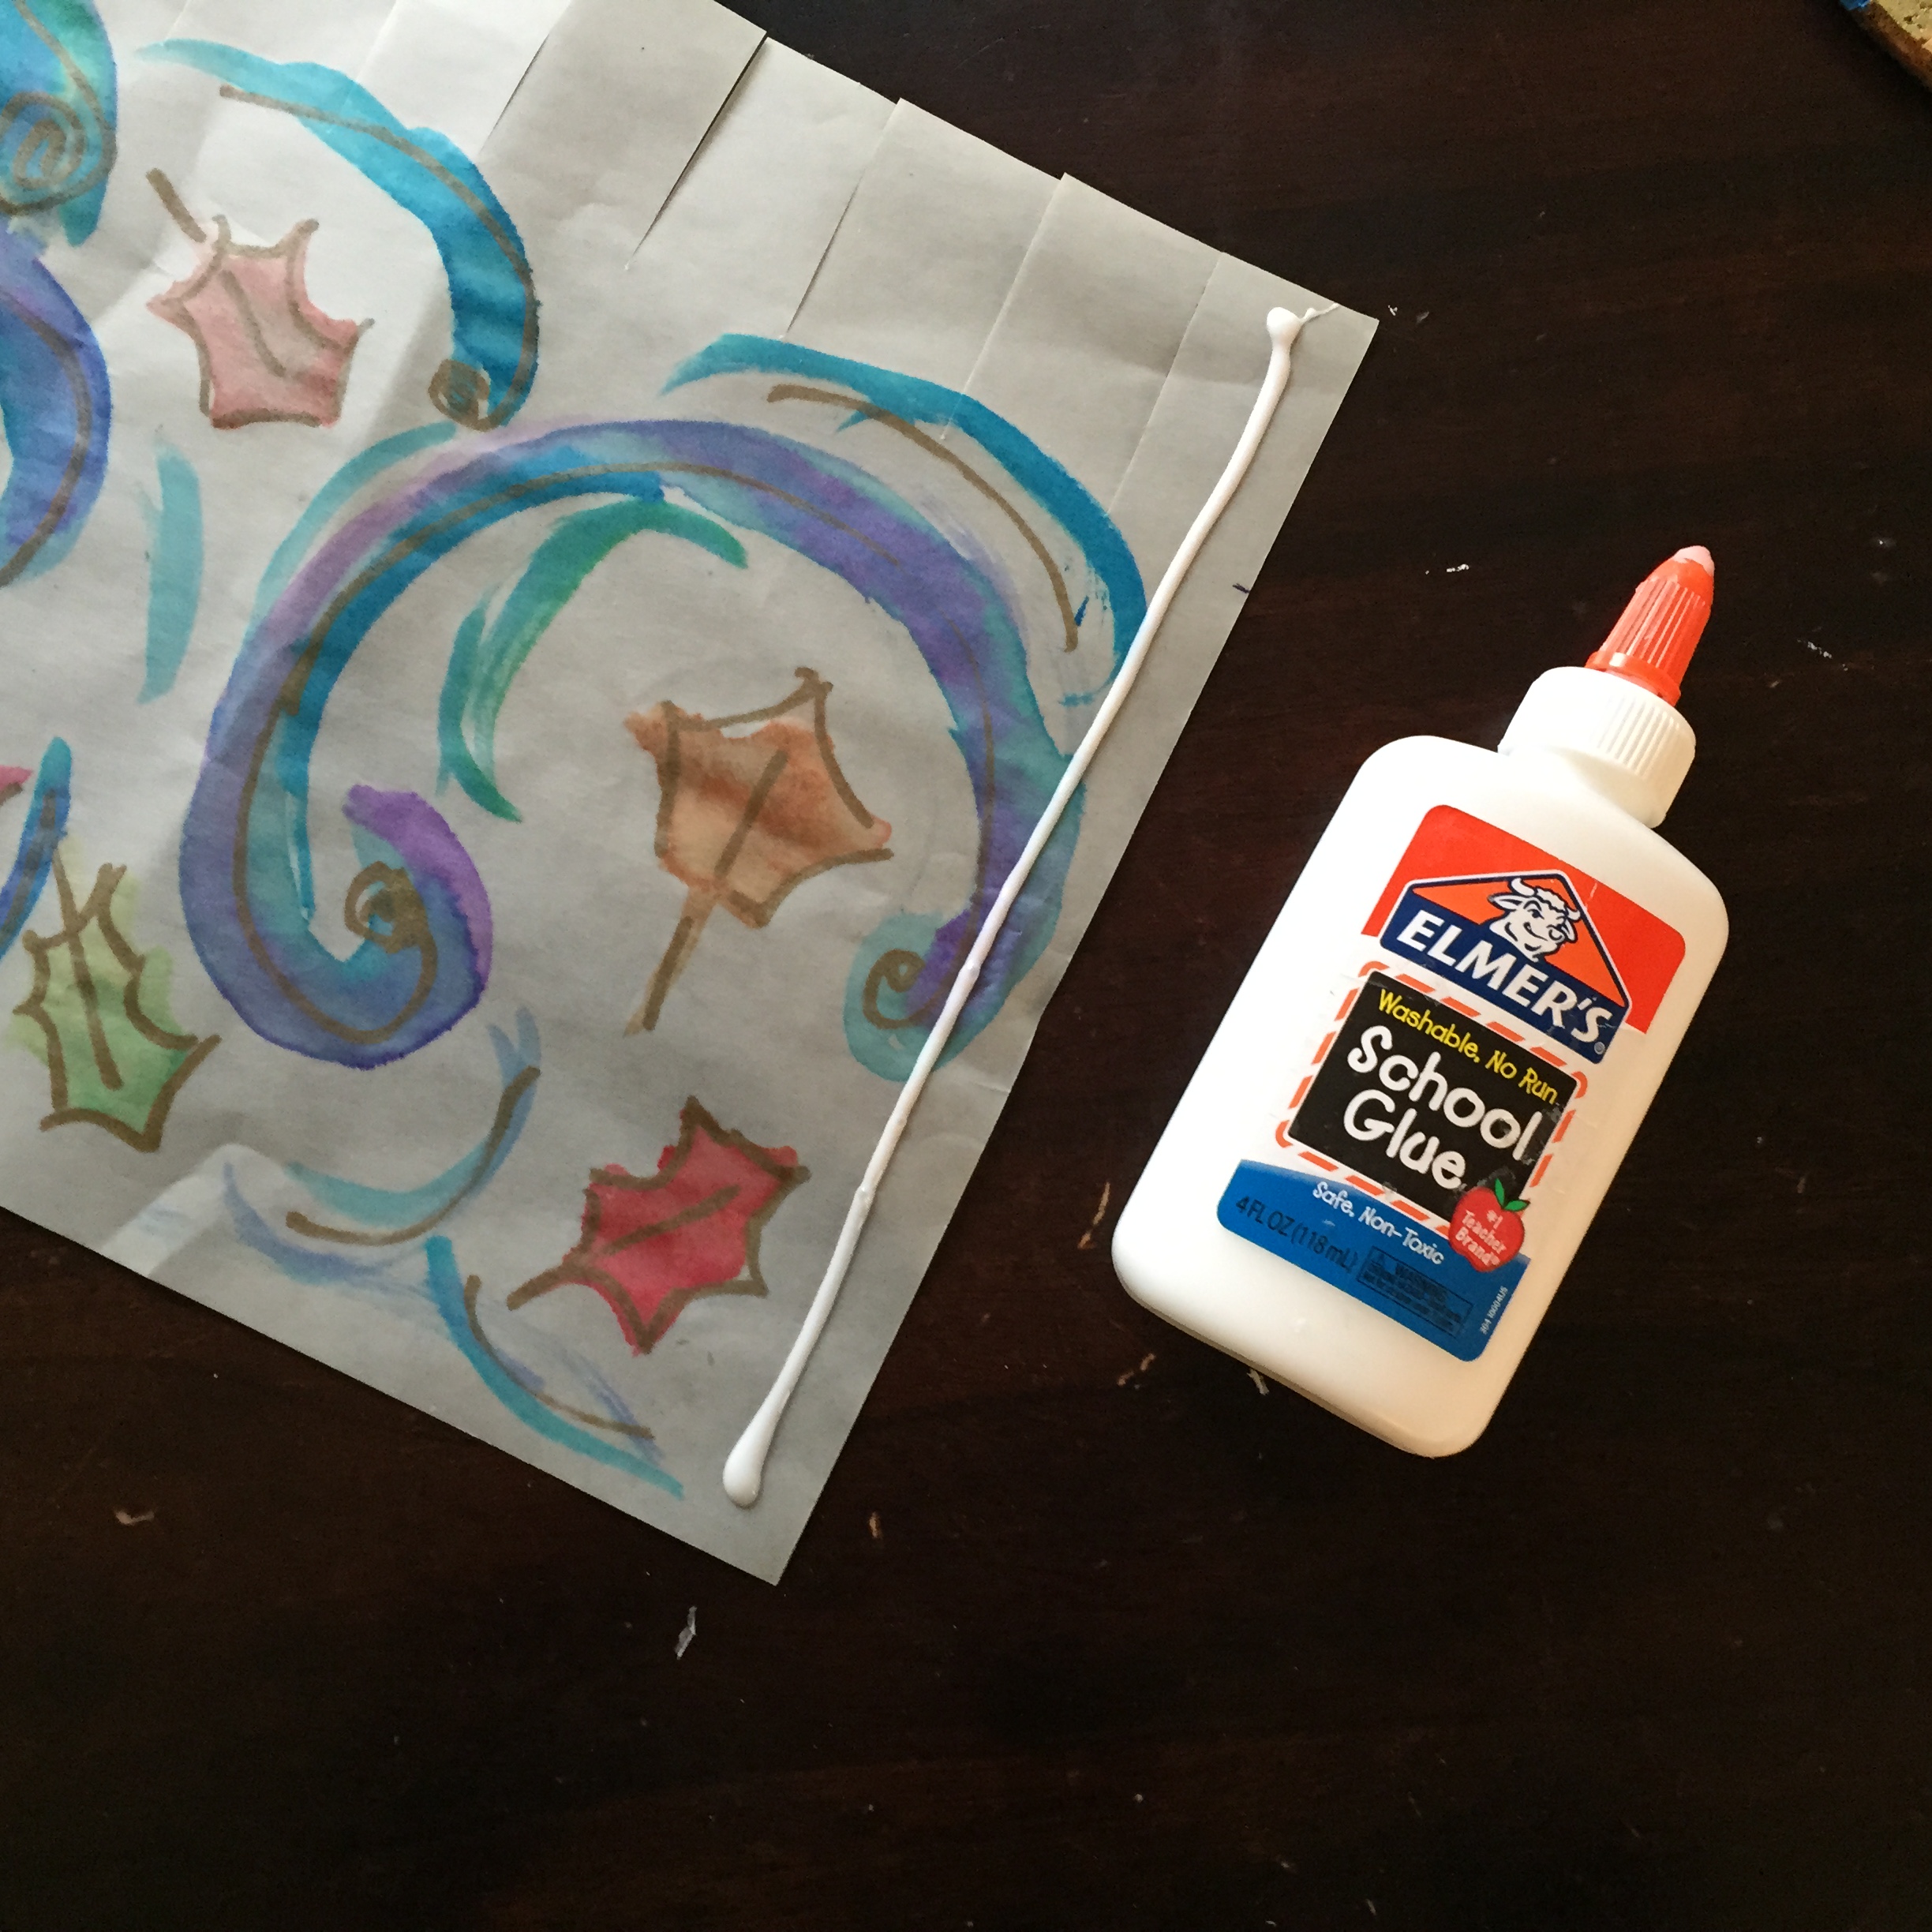
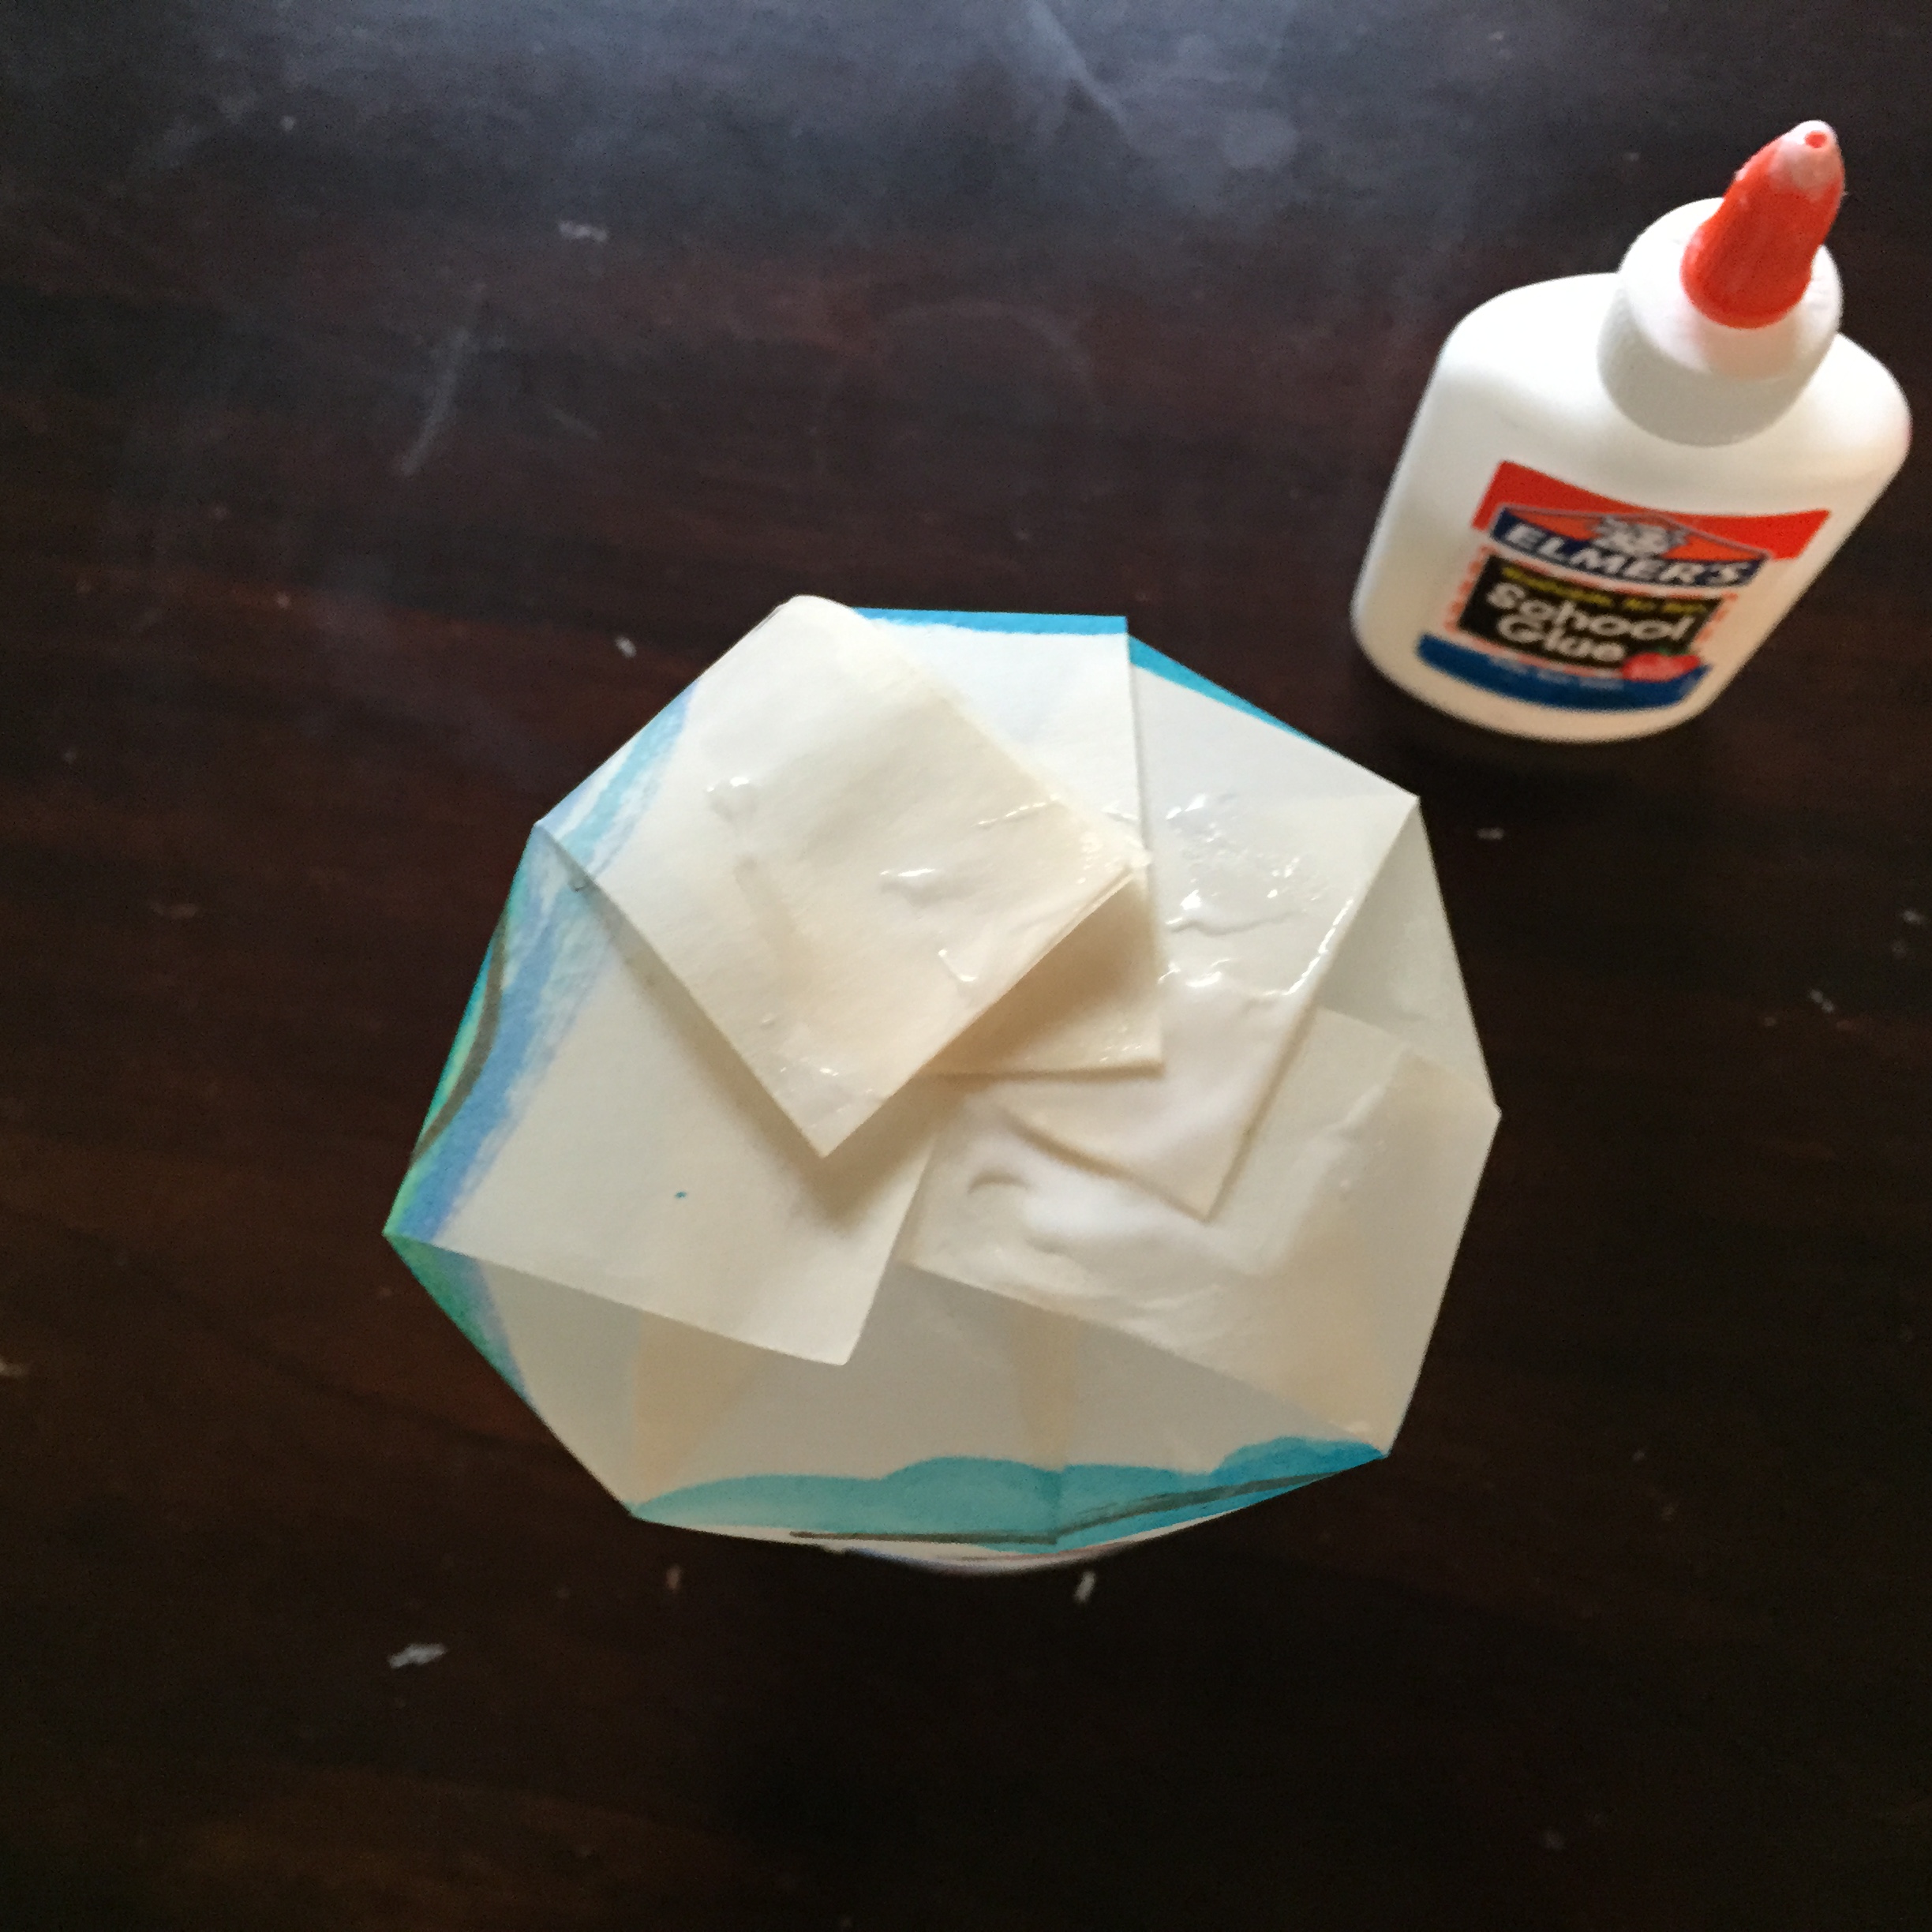
Fold your cut strips in. Glue between them, forming the bottom of the lantern. Use a rock or some little weight in the bottom to flatten it while it dries.
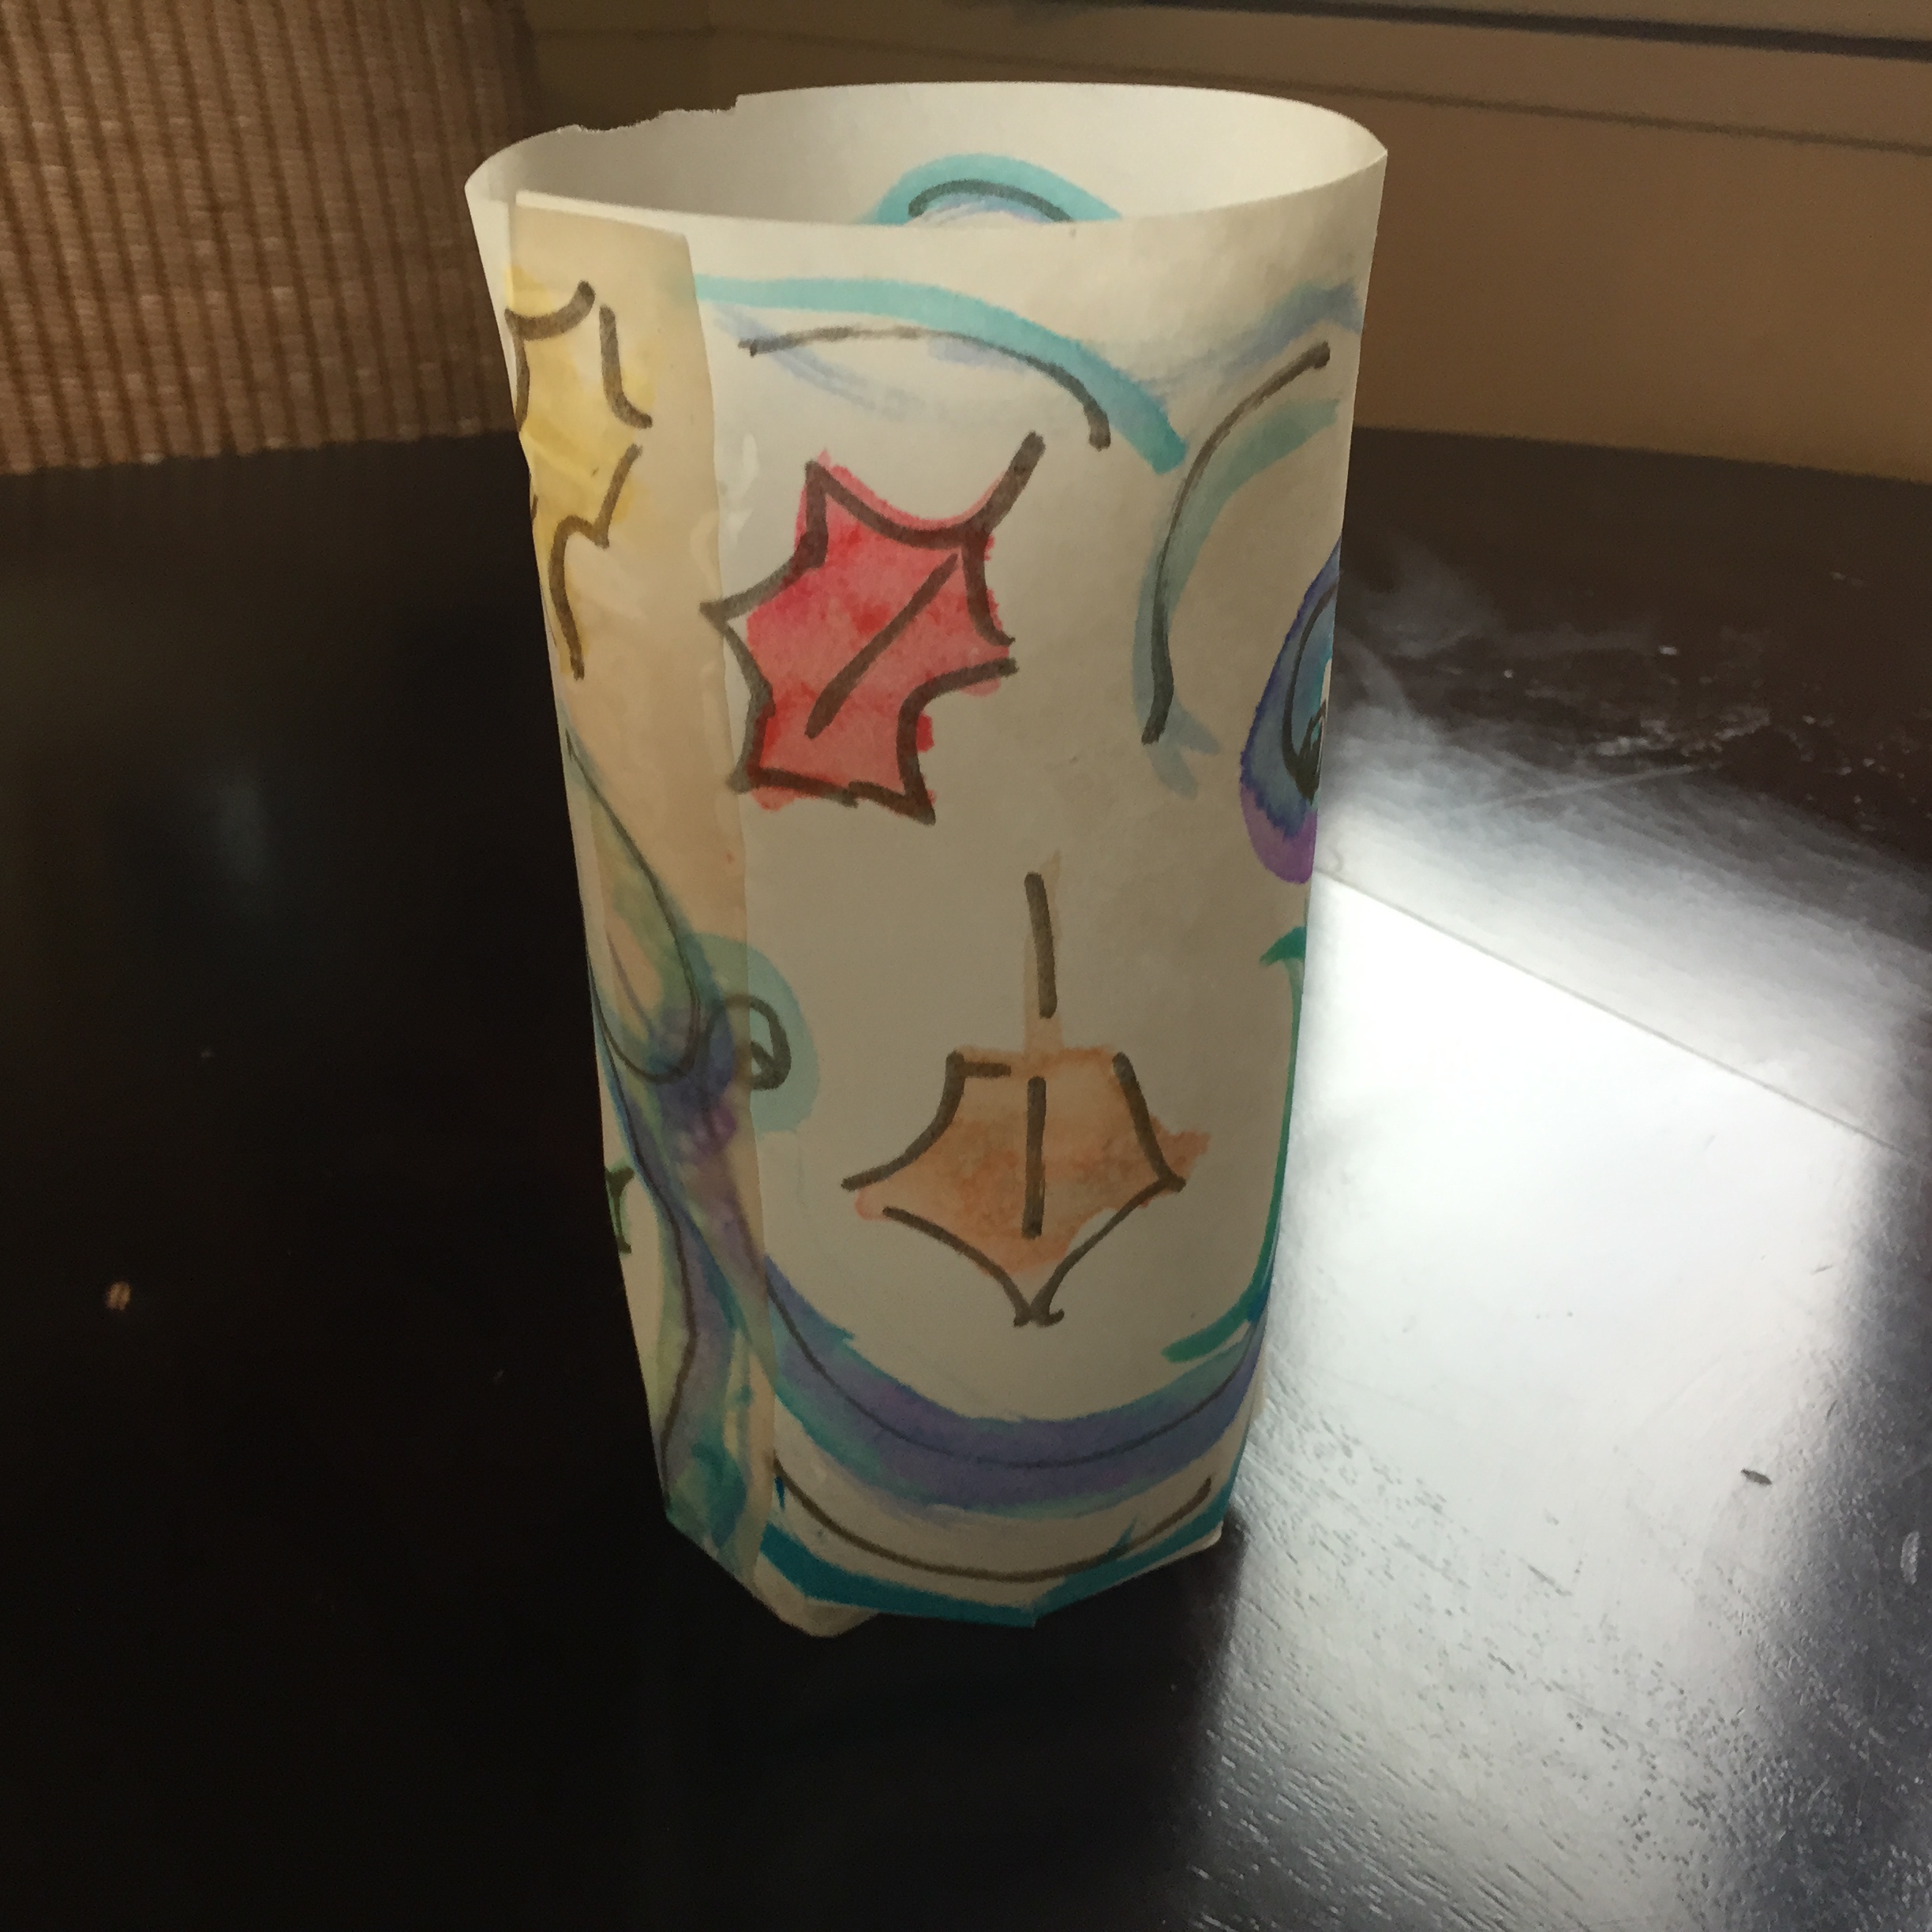
Put in an LED candle. Don’t use regular candles with paper and vegetable oil!